
DIY Decorative Recycle/Storage Box
- Mar 5, 2022
- 5 min read
We recycle so much to the point where it completely takes over my kitchen floor and countertops! I didn't really want to buy another large bin and was tired of seeing a cluttered mess! So, I decided to create a DIY decorative recycle box. I'm going to show you how I made 2 different bins. My first attempt was a few years ago and it looked like this...
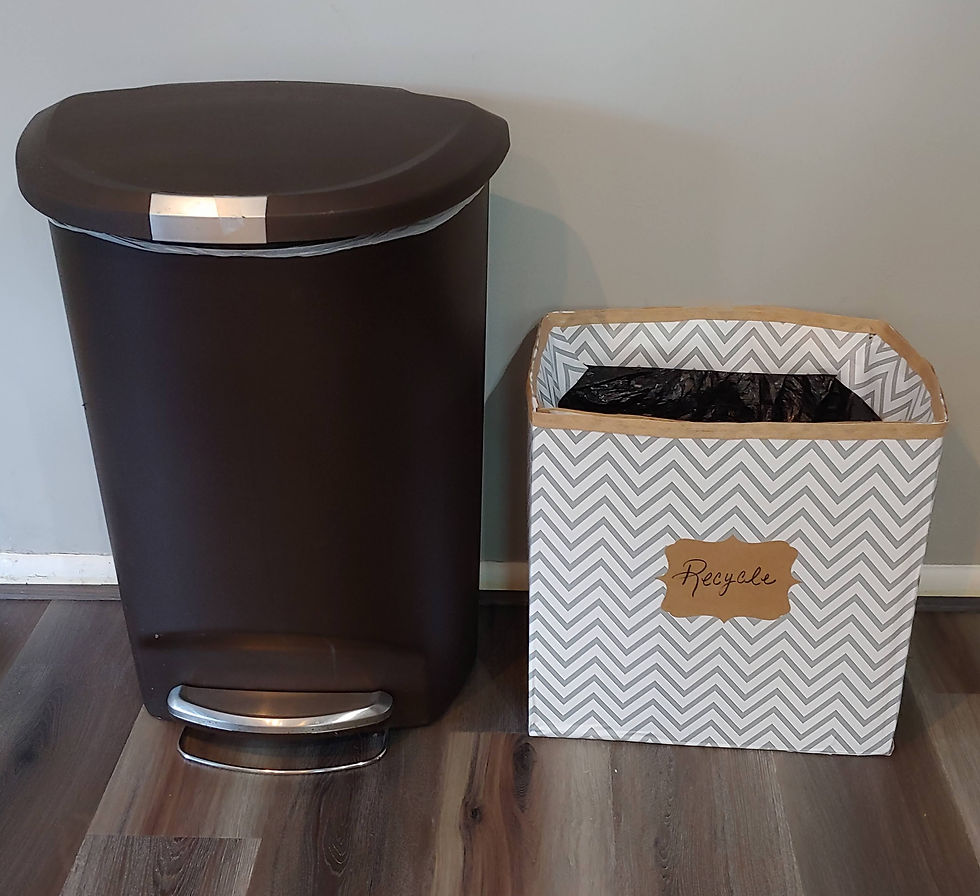
This was the only photo I took of it. It didn't turn out the way I wanted it to. I used decorative contact paper, a cardboard box, garbage bag, ribbon, a label, and a sharpie. Covering the top of the garbage bag with the contact paper was a bad idea, the paper kept peeling up and the garbage bag would get all jumbled up. The reason for this? Well. I didn't cut off the top flaps - lazy me! Those flaps kept popping up and getting in the way. I do like the way this one looks, but it wasn't practical! It was also too small for my needs.
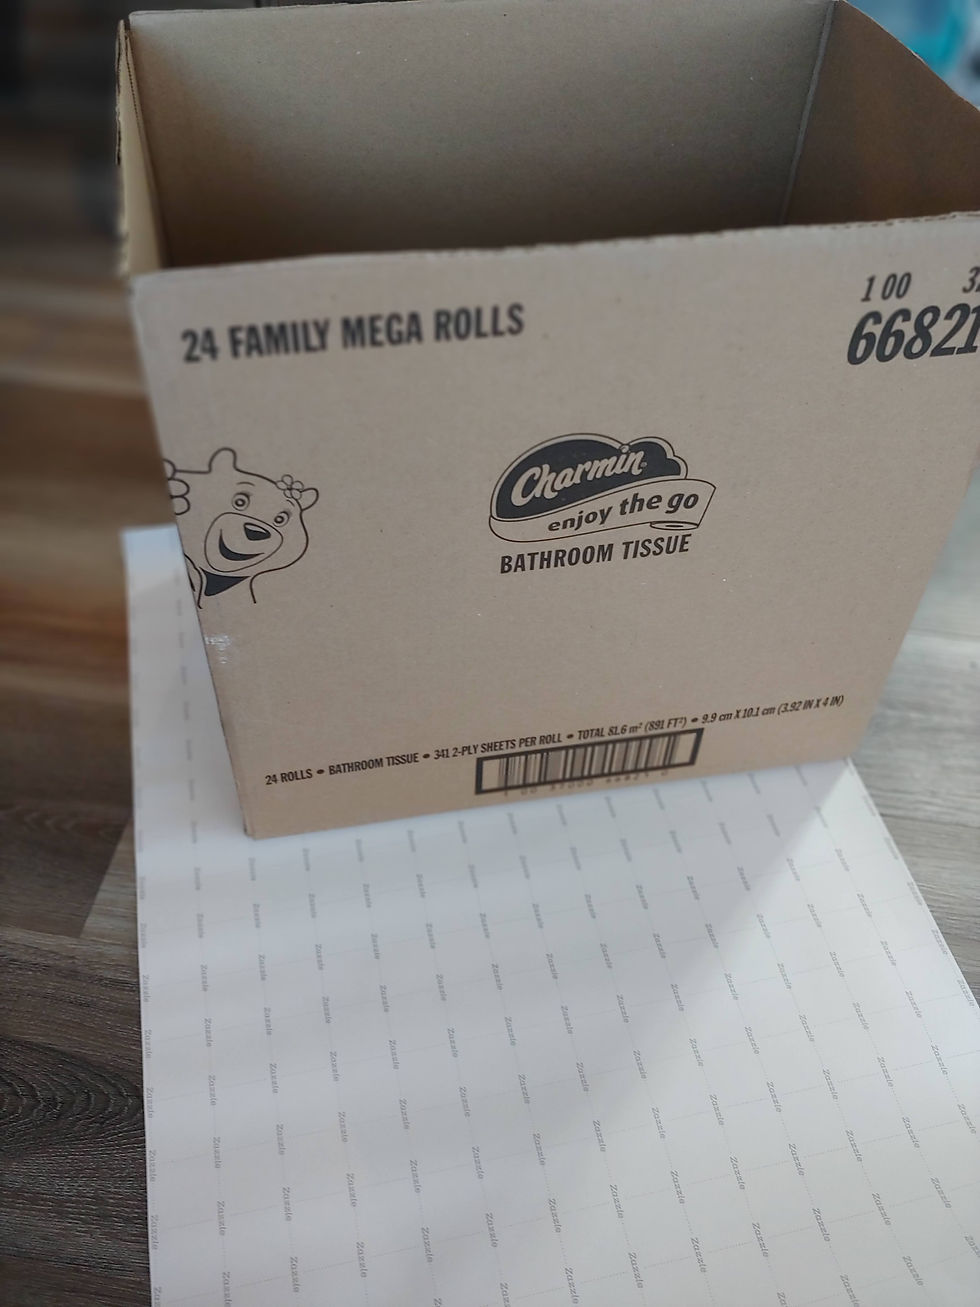
This was my 2nd attempt and so far I'm happy with the results. Just a box, double sided tape, and thick high quality wrapping paper (but, next time I will use a much bigger box).


When I created my first recycle bin, I didn't design wrapping paper yet. So, this time I decided to use the wrapping paper I designed to match my breakfast nook area! I love the way the eucalyptus leaves look up against our tree mural wall. The wrapping paper is super thick and heavy - very similar to scrapbook paper. It's printed on heavyweight 70 lb. uncoated matte You can find this eucalyptus wrapping paper set here.


It's amazing how well this worked out! My wrapping paper sets come in 3 - 19" x 29" sheets and I only had a tiny bit left over. I used a Charmin toilet paper box (one of those big ones that holds 24 rolls). It measures 17" L 16.5" H and 11" W. The wrapping paper has a grid on the back which makes things so much easier (thank you to my print provider, Zazzle!).
After covid hit, I really wanted to send care packages to cheer my family and friends up. So, I started designing my own personalized cards and wrapping paper that had encouraging and uplifting words/graphics on them.. I then realized I wanted to spread the love and make these products available to everyone!
You can find my wrapping paper designs at my Etsy shop as well as my Zazzle store. Prices vary since I don't charge for shipping on Etsy and you do have to pay for Zazzle shipping (unless you have their shipping program). Zazzle also offers their own discounts. I like selling through my Etsy shop so that I can give my customers a more personalized experience. I handle placing all orders and can customize something special for you. After I place the order for you, Zazzle prints and ships my orders. They take care of everything if you place an order through them. I currently only sell my wrapping paper designs on Etsy and you can find a lot more products with my designs on Zazzle (invitations, cards, stickers, notebooks, planners, tissue paper, mugs, t-shirts, yoga mats and so much more!) I LOVE the quality of Zazzle's products! They also have wonderful customer service! All of my designs were either fully created by me or with some help from other talented artists. I love supporting other artists by combining my art with theirs!
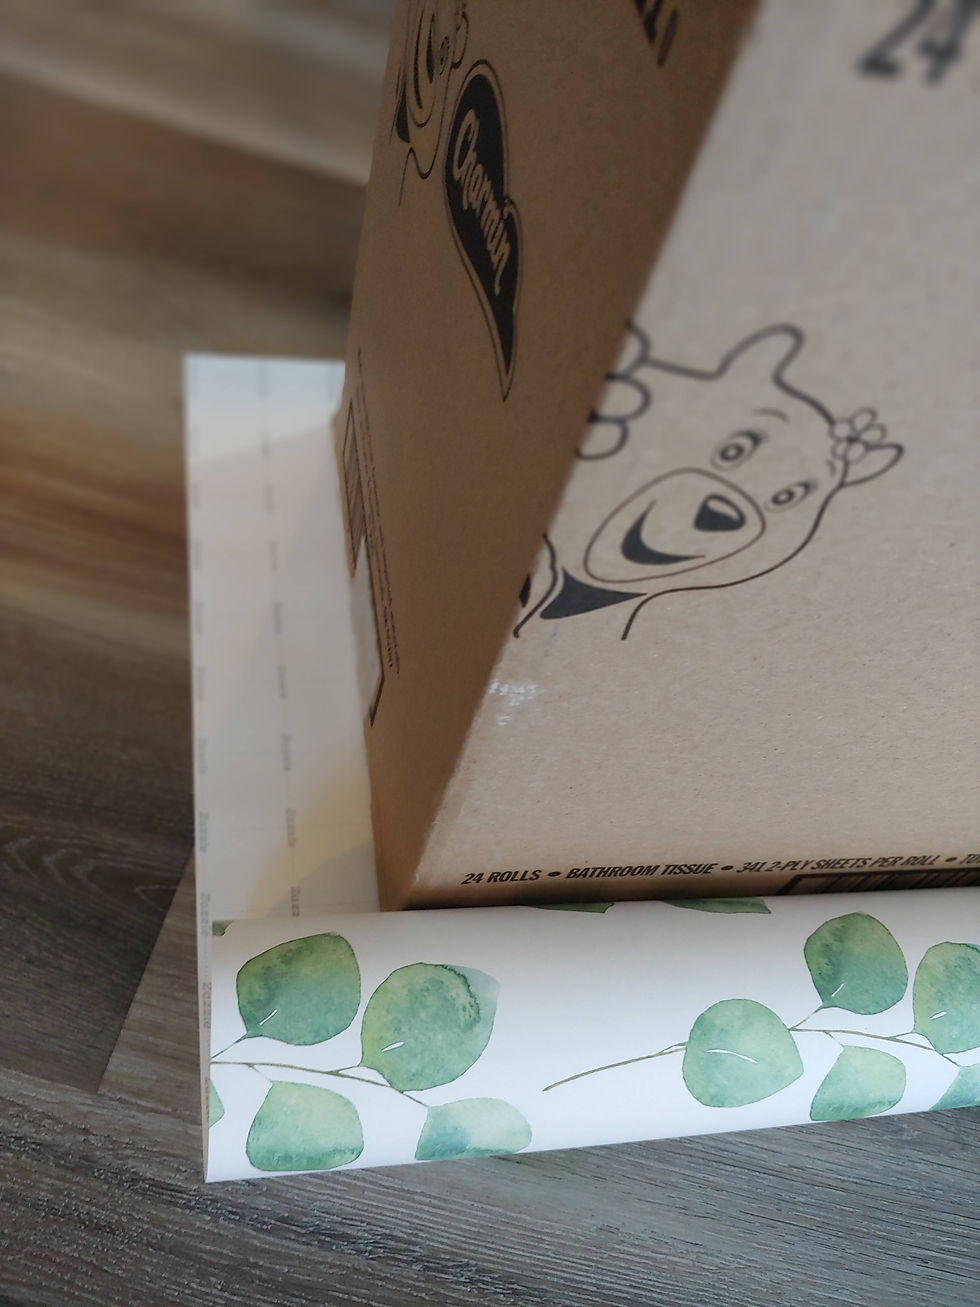
Anyways, back to the recycle bin. I started out with a box, cut off the top flaps, and then placed one of the wrapping paper sheets over one of the longest sides of the box to make sure it would fit. I used all of 1 sheet with exception of a very small amount on the longest side. I used all 3 sheets for this entire project. I would have wrapped this like a gift, but I wouldn't have had enough paper to do that. So, I had to improvise...


I placed some of the paper under the box and folded the excess over the top so it would hold nicely. Once I got the paper where I wanted it, I laid it down flat to cut off the extra paper.

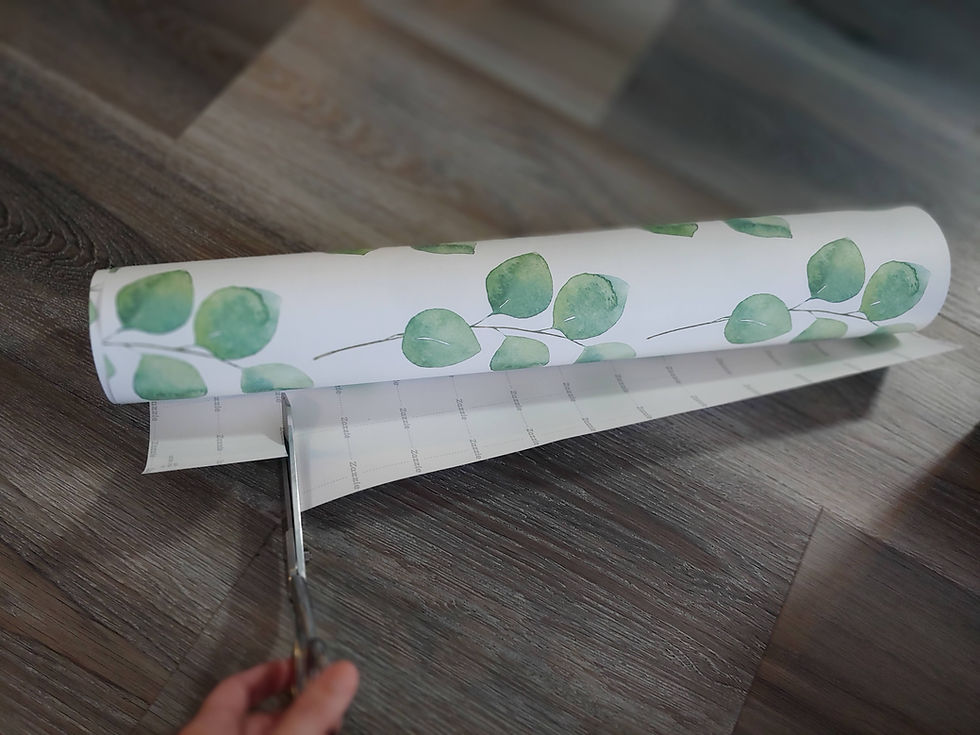
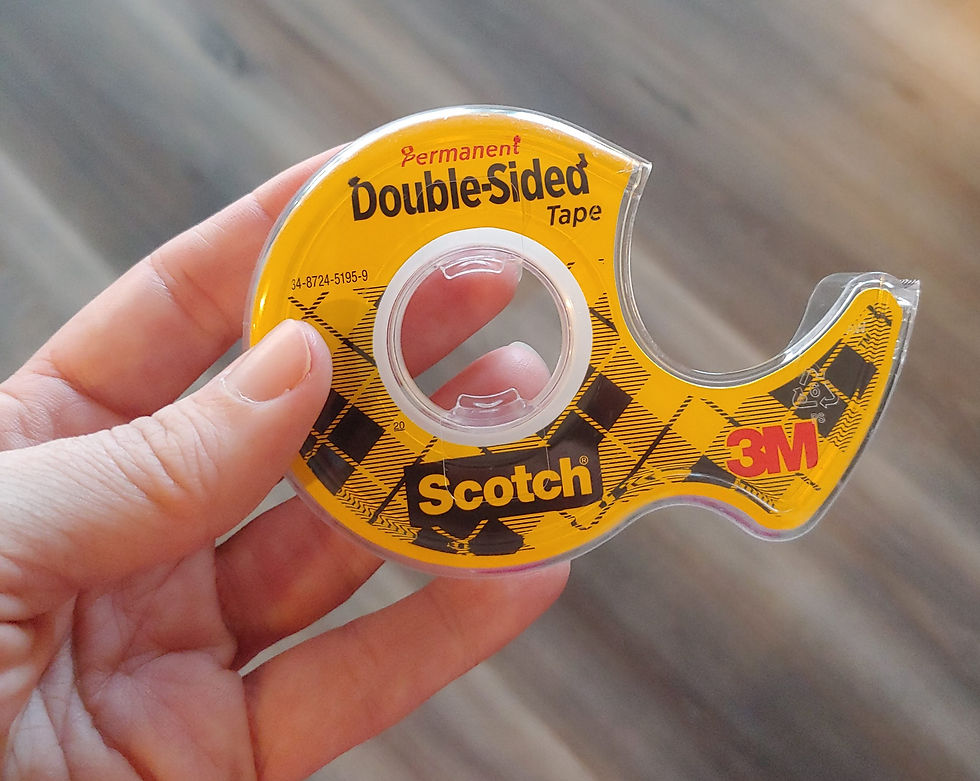
Once I cut off the rest so that it would fit the whole length of the box, I placed it back under the box and put double sided tape all along the sides. Scotch double sided tape works fantastic with this wrapping paper! Since the paper is so thick, it really helps to make the paper stick well. However, I found that I can get a little carried away with the tape and it can end up sticking too much - haha! Great for projects like this, but can be a bit tricky for small kids opening gifts. I would stick to magic tape for that or just use the double sided tape sparingly.

Pay no attention to my terrible cutting job! For some reason I have such a hard time cutting straight - what the heck - SMH at myself. Oh well, it's okay if it isn't perfect! I believe it's important to enjoy the process and that's all that really matters anyways!

Once I got the tape down on all sides, I carefully pulled the paper up and attached it to the box. I did the same thing for the opposite side of the box (again using another sheet). At the top and bottom of the box, I folded in the corners - like you would wrap a gift. When folding this paper, makes sure you make very deep creases in order for it to fold really well. It just makes the whole process much easier! I also recommend using very sturdy boxes. A flimsy box or odd shaped object won't wrap well.

After all of the paper covered the box, I had to put a little extra tape on the corners (I used Scotch magic tape for this in the photo below). You could skip the tape all together and use Modge Podge or something like that. This paper would be great to decoupage with! You could even use it to make envelopes, cards, or frame it!

So, this is the finished product. I'm not sure how long it will hold up, but it makes a great temporary option! Eventually, I will figure out how I'm going to line it so that it doesn't get wet (13 gallon garbage bags won't fit!) For now, I will just need to make sure everything is completely dry before I put it in the box. You could also use it for a storage bin/kids toy box!

I might use my Cricut machine to print out the words in vinyl, "Recycle." Then I will cut out a piece of construction paper, place it on the bin, and then add the vinyl! If I do that, I will update this blog with another tutorial and photos! :) Before I go, I should mention that all of my matte paper is recyclable and can be re-purposed! Woo-hoo!! There is a lot of wrapping paper out there that can't be recycled due to foil, glitter, gloss, etc. You could also use my "recycle" designed wrapping paper for this project. You can find those here.


Stay tuned for more blog posts on how to re-purpose our wrapping paper! Hope you enjoyed reading! Thanks for being here! I appreciate your support so much!!


Comments